She Hammered Nails Into Black Plywood and Connected Them With White String: A Halloween Skull Took Shape
Black plywood, a handful of nails, and white cotton string don’t look like the beginning of a Halloween decoration. But arrange the nails into the shape of a skull, stretch string between them, and the overlapping lines begin forming a face. The eye sockets, nose, and teeth emerge from the spaces left untouched by the thread.
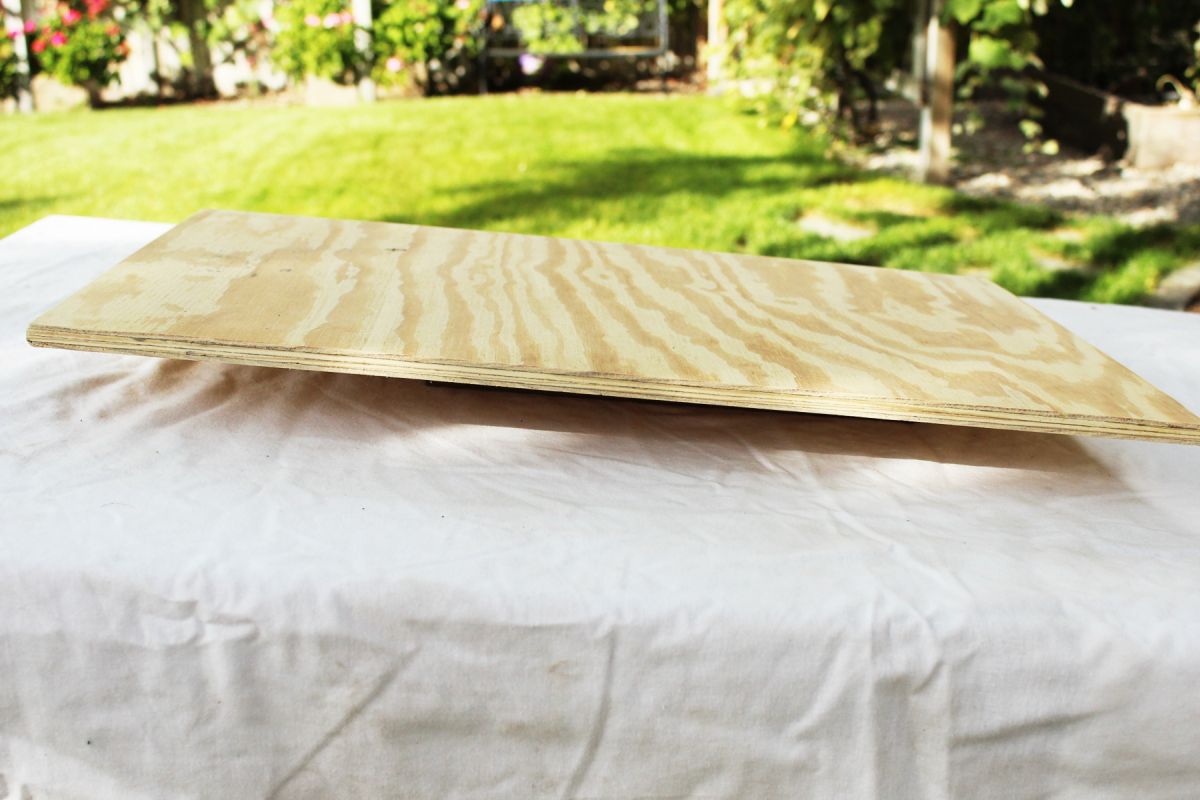
Homedit editor Brittney Smart created this Halloween string art using half-inch plywood, flat black spray paint, one-inch panel nails, and white cotton string. Instead of cutting a skull from wood or painting one onto the surface, she used nails to establish the shape and crossed strands of string to fill it.
The finished skull has a wide grin and a web of white lines against the black background. Displayed above a mantel with pumpkins and autumn branches, the artwork brings Halloween into the room without the usual orange-and-black decorations.
Black Spray Paint Turned Plywood Into the Backdrop
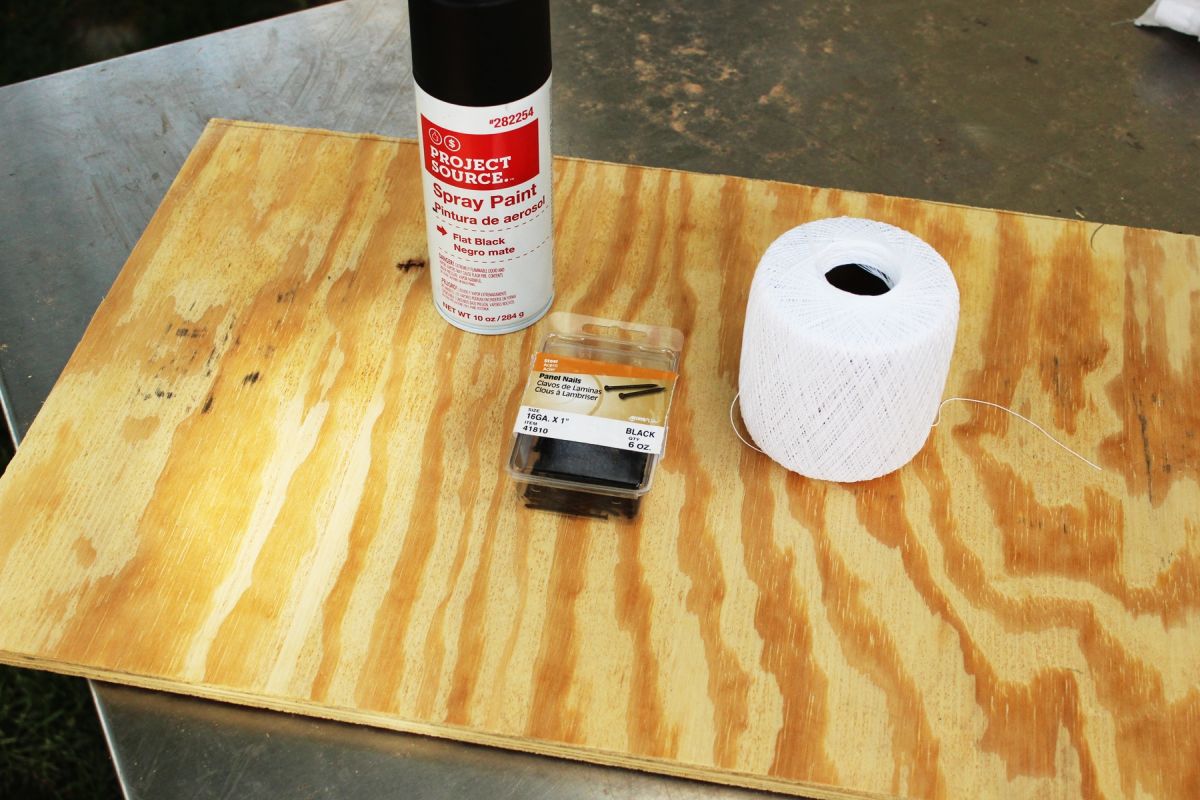
The project began with a sheet of half-inch plywood, a can of flat black spray paint, black panel nails, and a ball of white cotton string. Parchment paper and a pencil would serve as the pattern for positioning the nails.
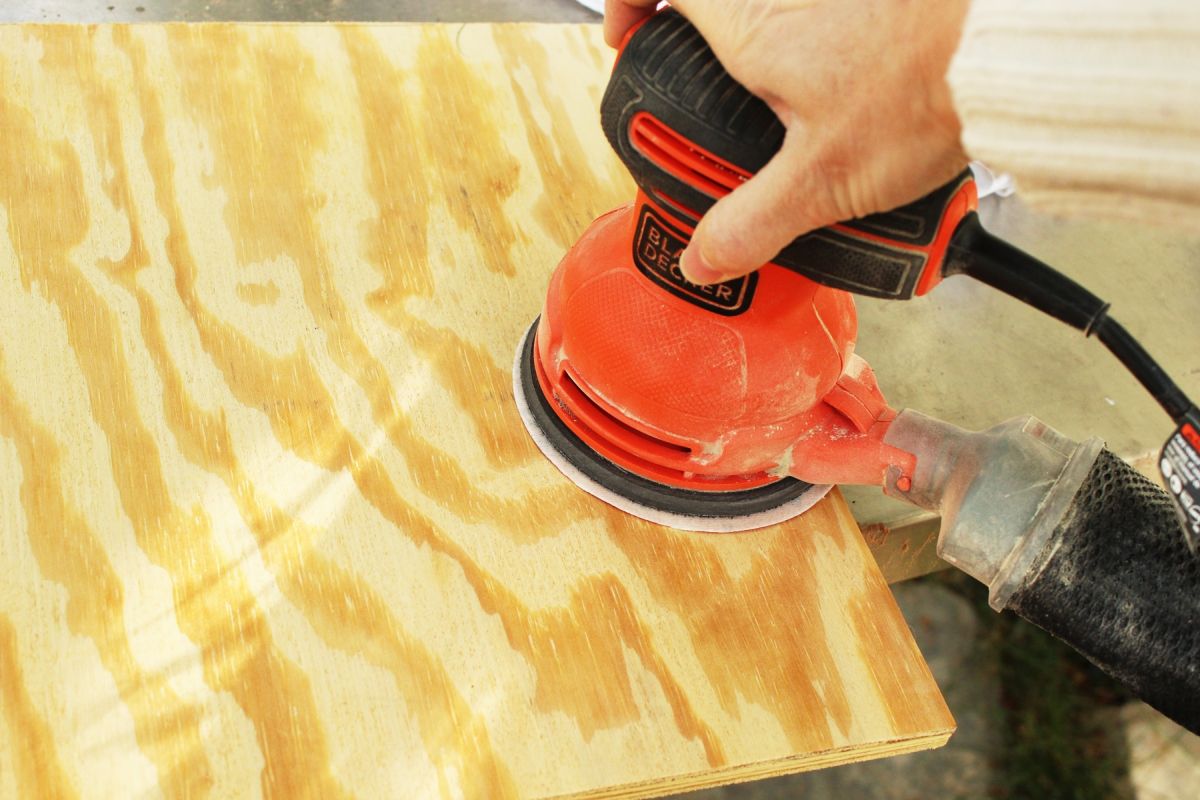
Brittney sanded the plywood surface and edges with an orbital sander, removing rough areas before applying the finish. The board’s exposed wood grain remained visible after sanding.
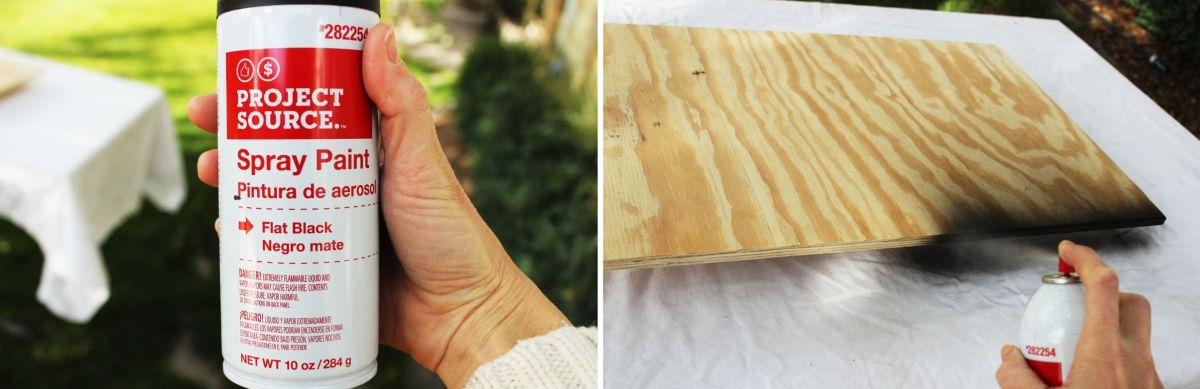
Flat black spray paint covered the board’s edges and front surface. Thin passes helped prevent drips, with the spray can kept moving across the wood instead of concentrating paint in one spot.
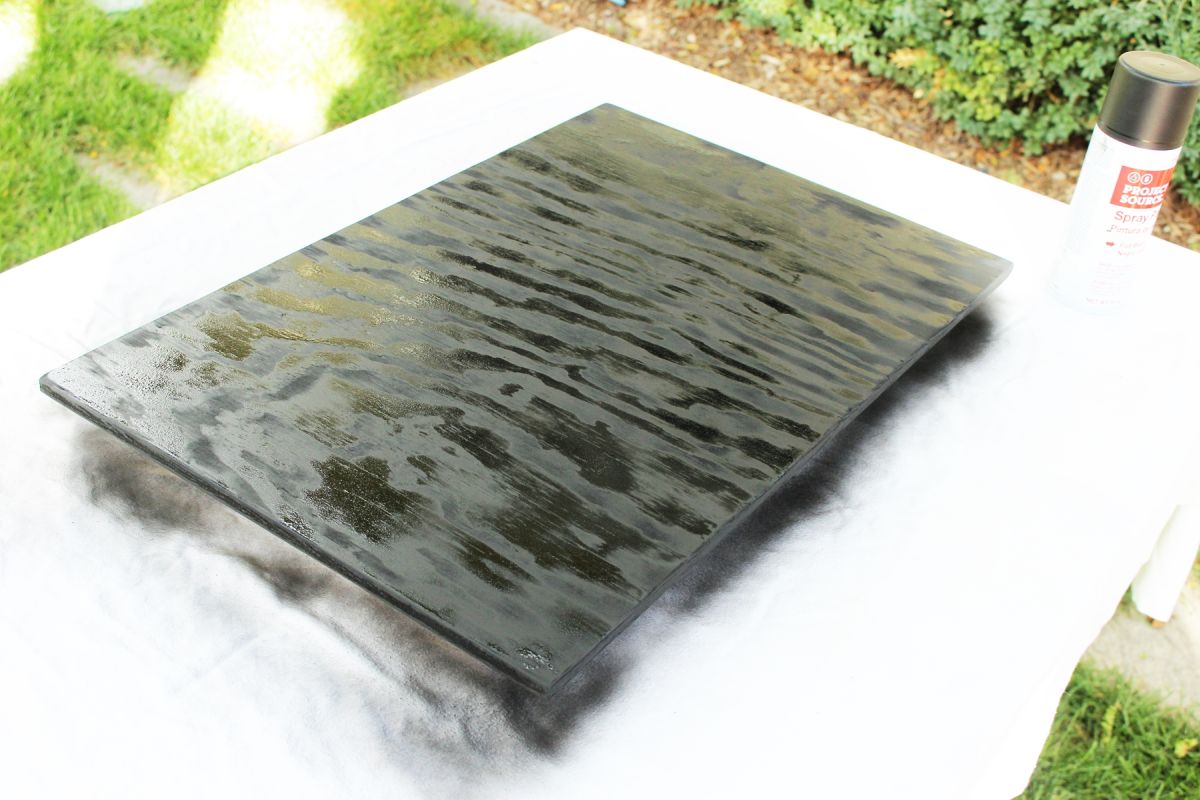
Once the paint dried, the board had a dark matte finish, with the plywood grain showing through the surface. The black background would serve as the negative space inside the skull’s eyes, nose, and mouth.
Parchment Paper Provided the Skull Pattern
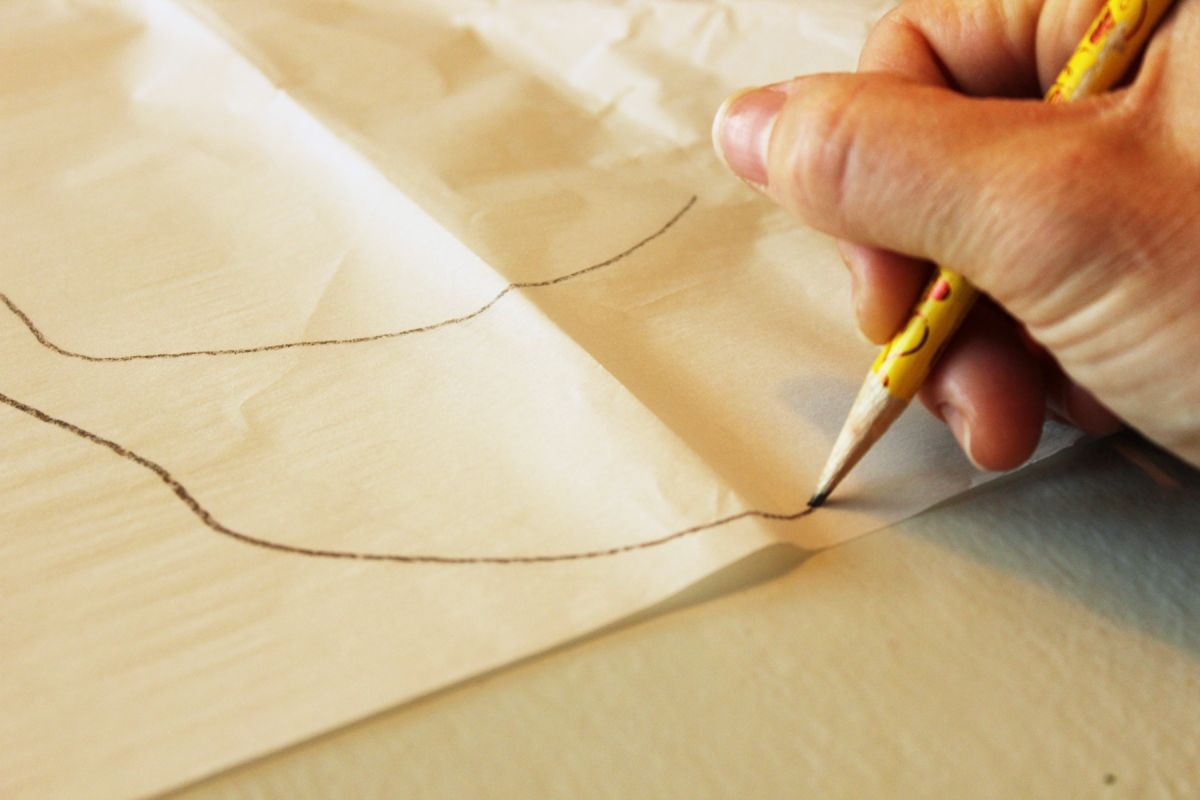
While the paint dried, Brittney drew the skull outline onto parchment paper. The pattern included a rounded head, two eye sockets, a small nose cavity, and a broad jaw with teeth.
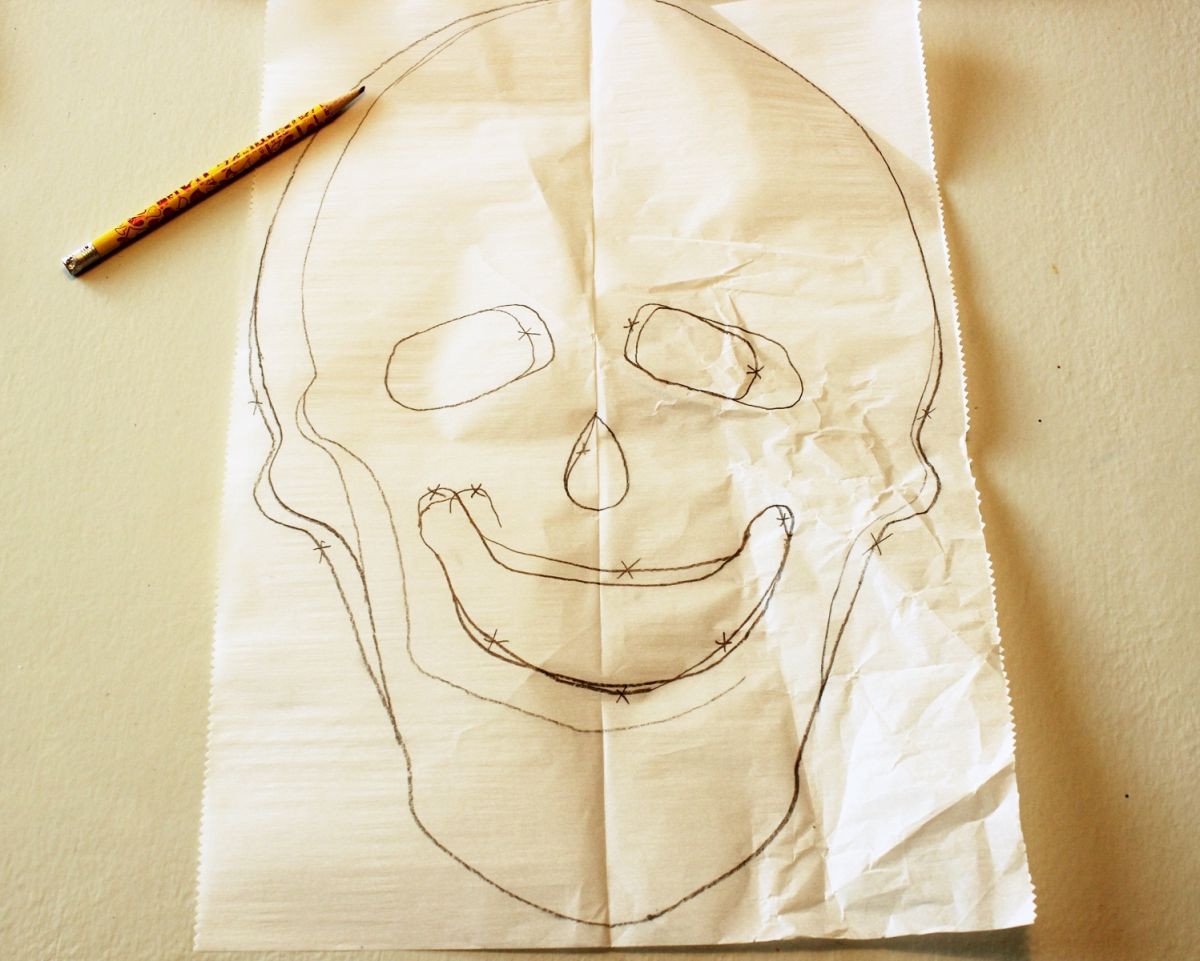
She folded the parchment along its center to help match the two sides of the skull, then adjusted the outline with a pencil. Extra marks and crossed-out lines remained on the paper because the drawing would be removed after the nails were installed.
Black Panel Nails Established the Shape
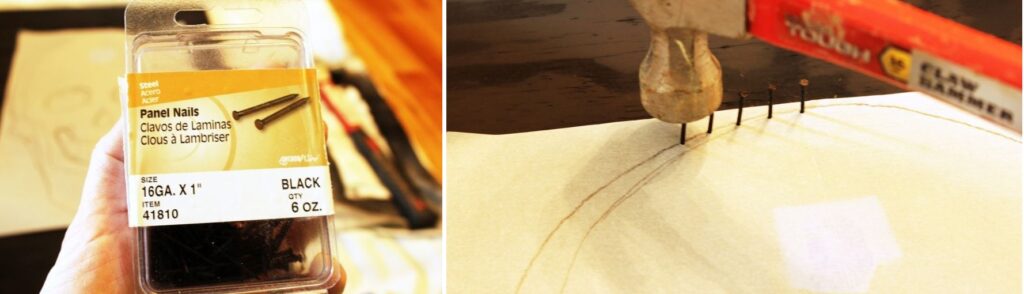
After positioning the paper over the painted plywood, Brittney used one-inch black panel nails and a hammer to transfer the skull design into the board. The nails followed the outer outline and the smaller shapes inside the face.
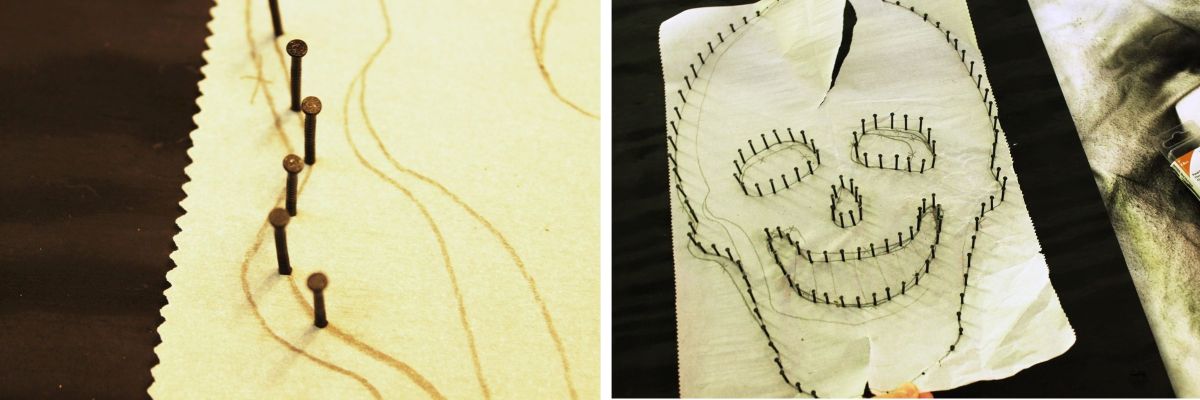
She drove the nails into the plywood while leaving their heads raised above the surface, creating anchor points for the string. Nail spacing narrowed around the eyes, nose, and mouth to preserve the curves and smaller details.
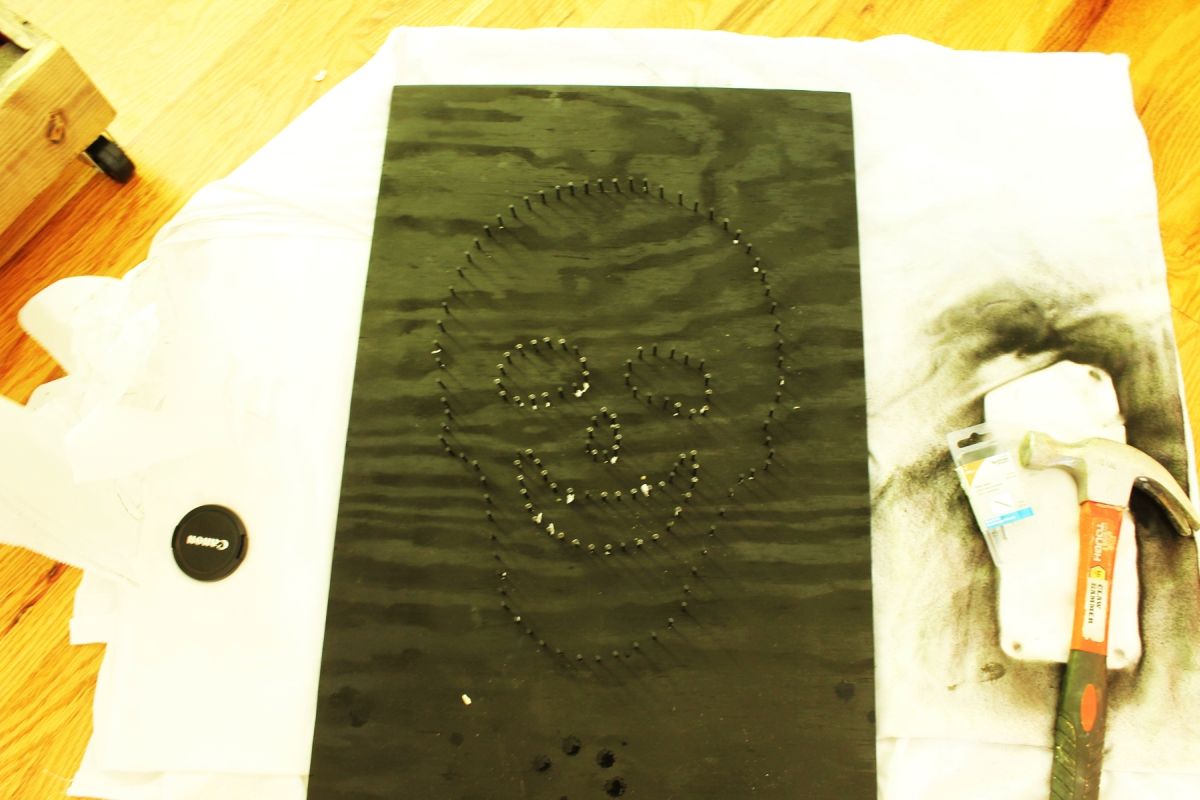
Once the outline was complete, she tore away the parchment paper. Small pieces caught beneath the nail heads could be removed with tweezers, leaving the skull pattern formed from rows of black nails.
White Cotton String Filled the Skull Without Covering the Eyes
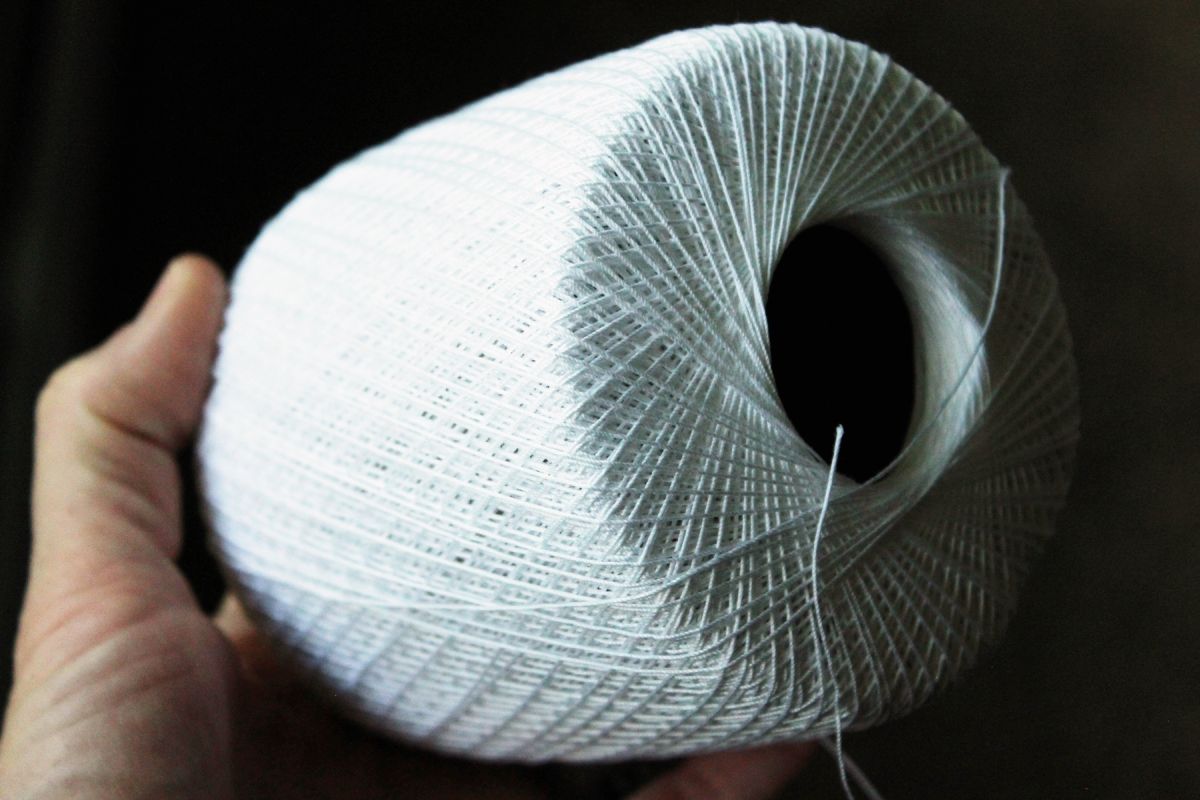
White cotton string created the contrast against the black surface. Its thin profile allowed the strands to cross without concealing the gaps that defined the face.
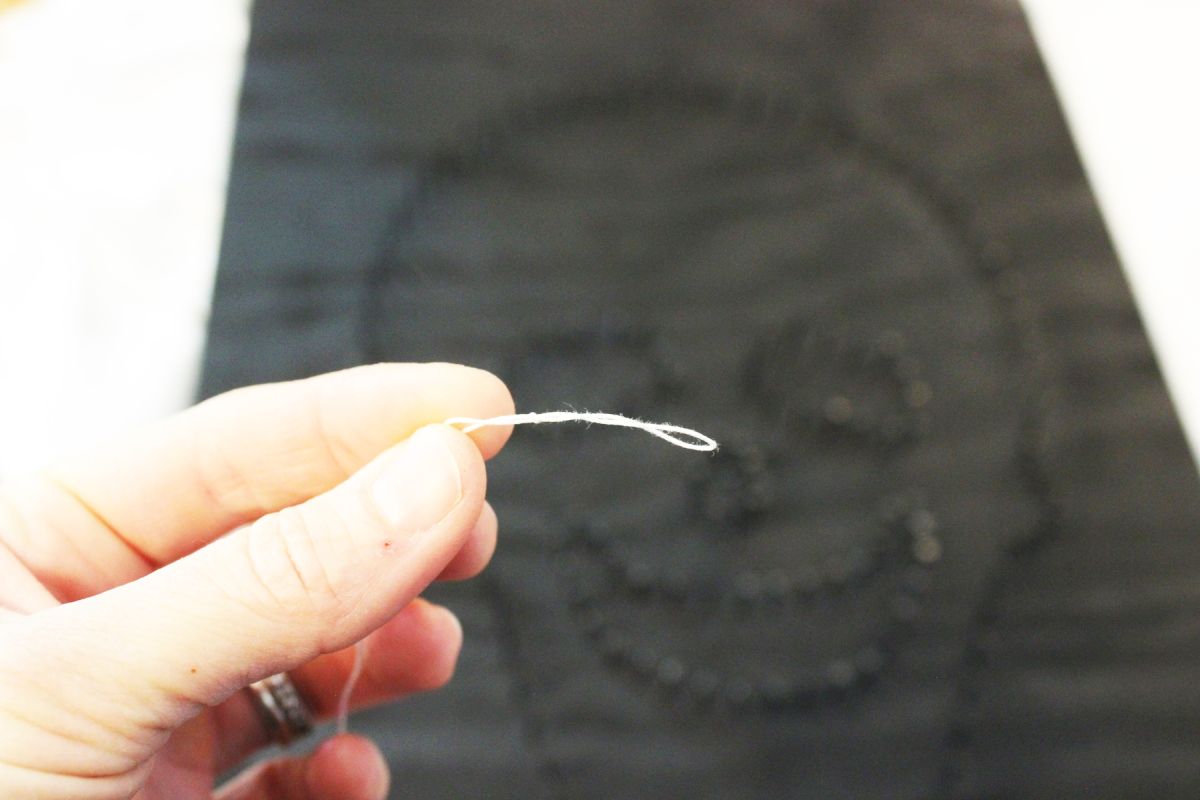
Brittney tied a loop at the end of the string and hooked it over the first nail, anchoring the thread before moving across the design.
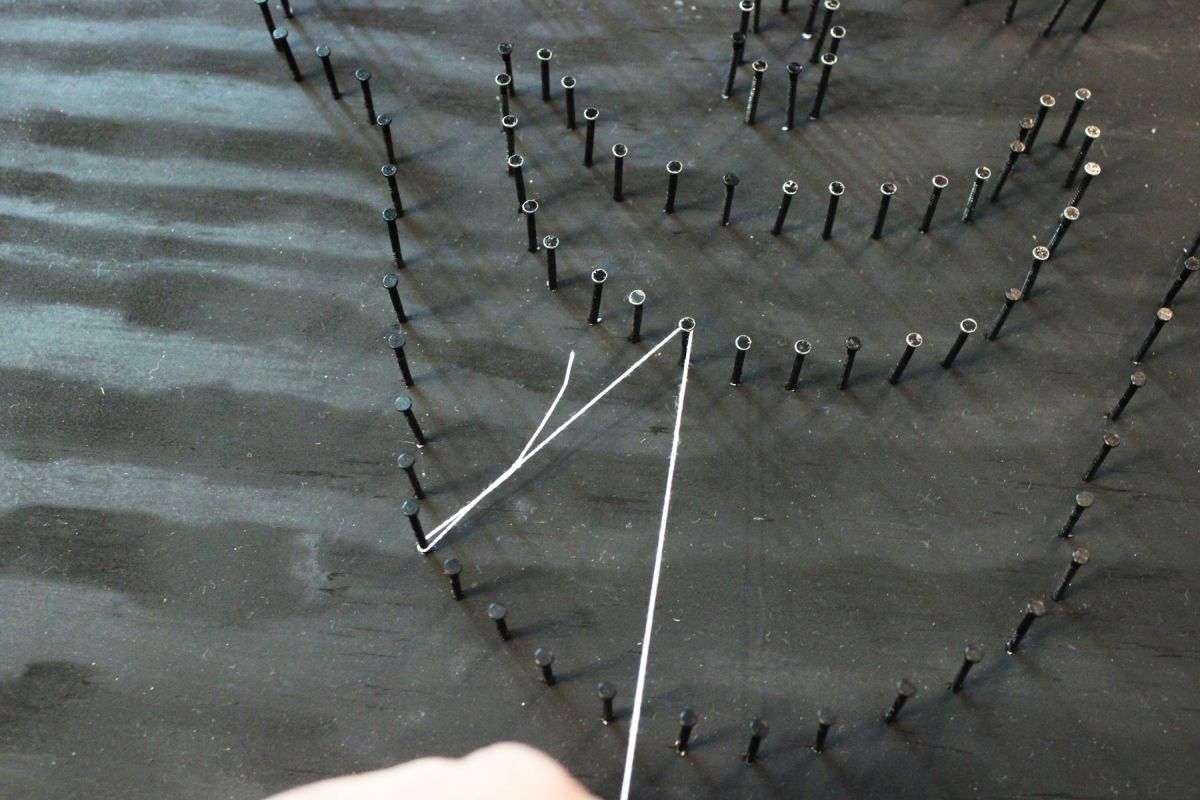
Instead of wrapping the thread around neighboring nails in sequence, she stretched it between different points of the outline. Each crossing added another white line, building a web across the lower part of the skull.
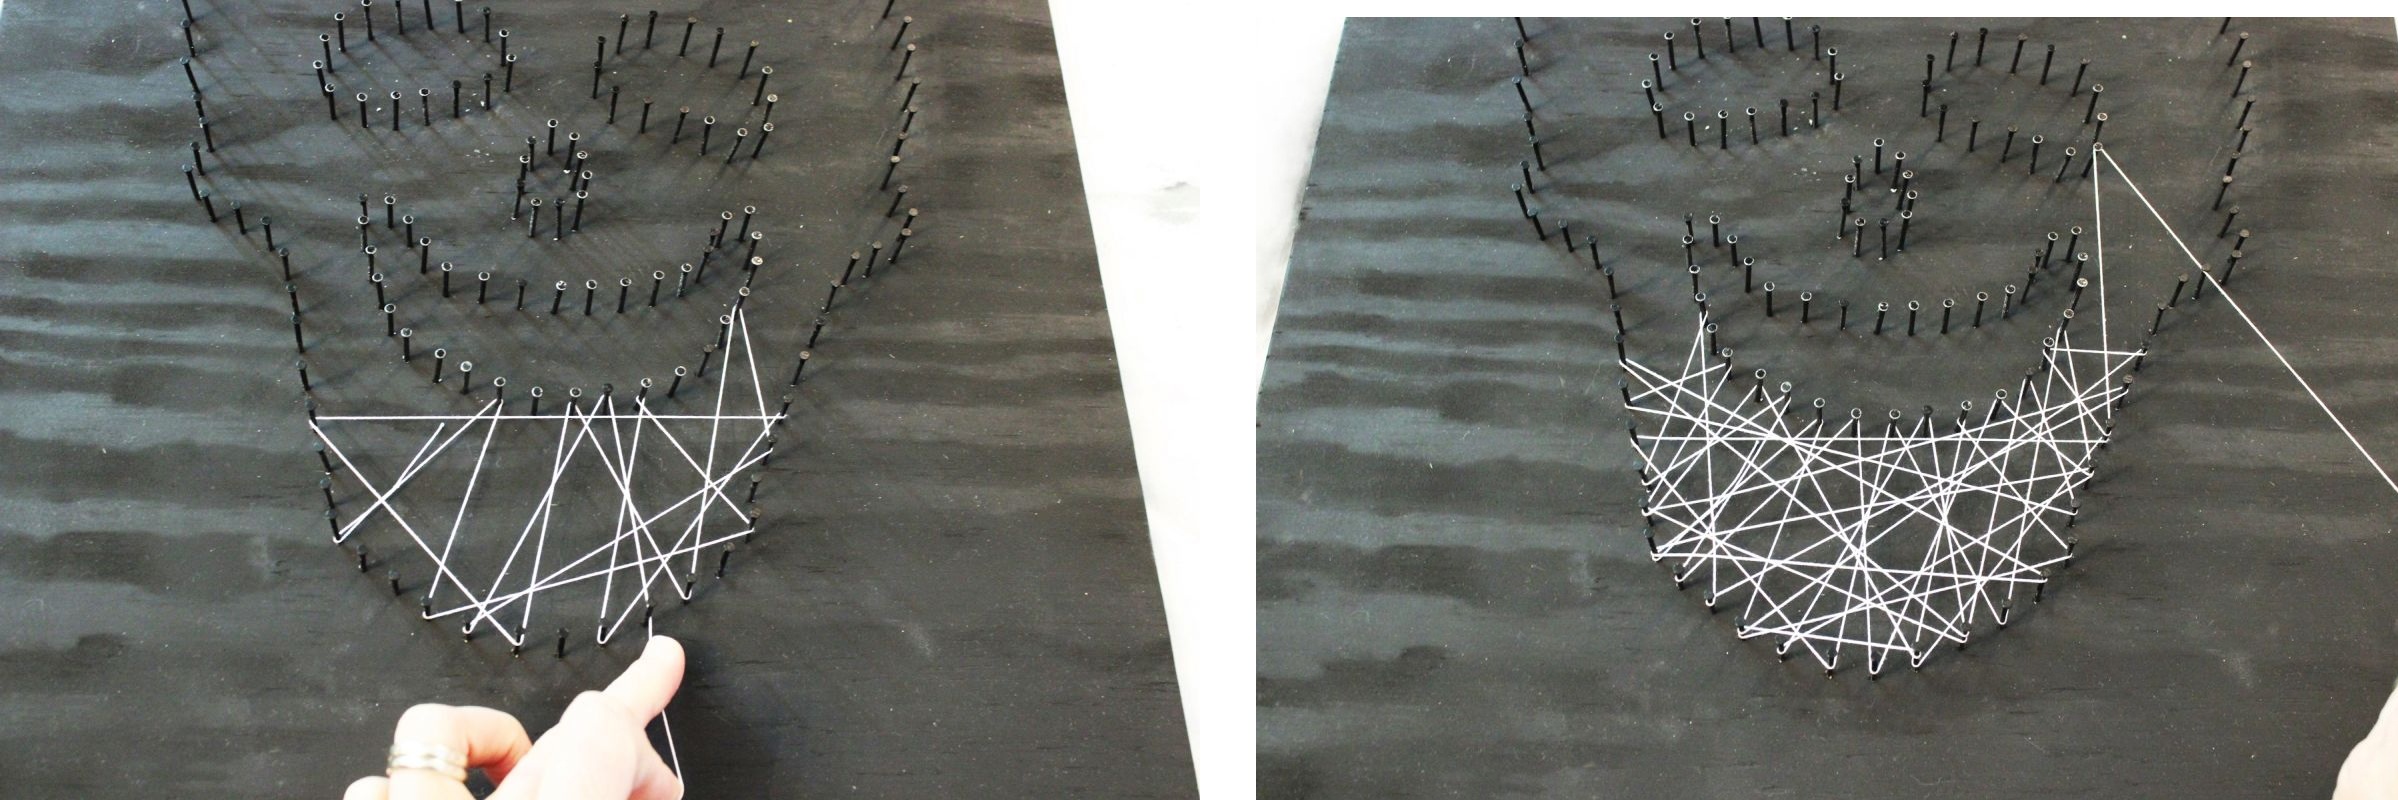
The jaw came first, followed by the area around the teeth and mouth. She changed the angle of the string between nails, leaving the dark interior spaces open rather than filling the entire face.
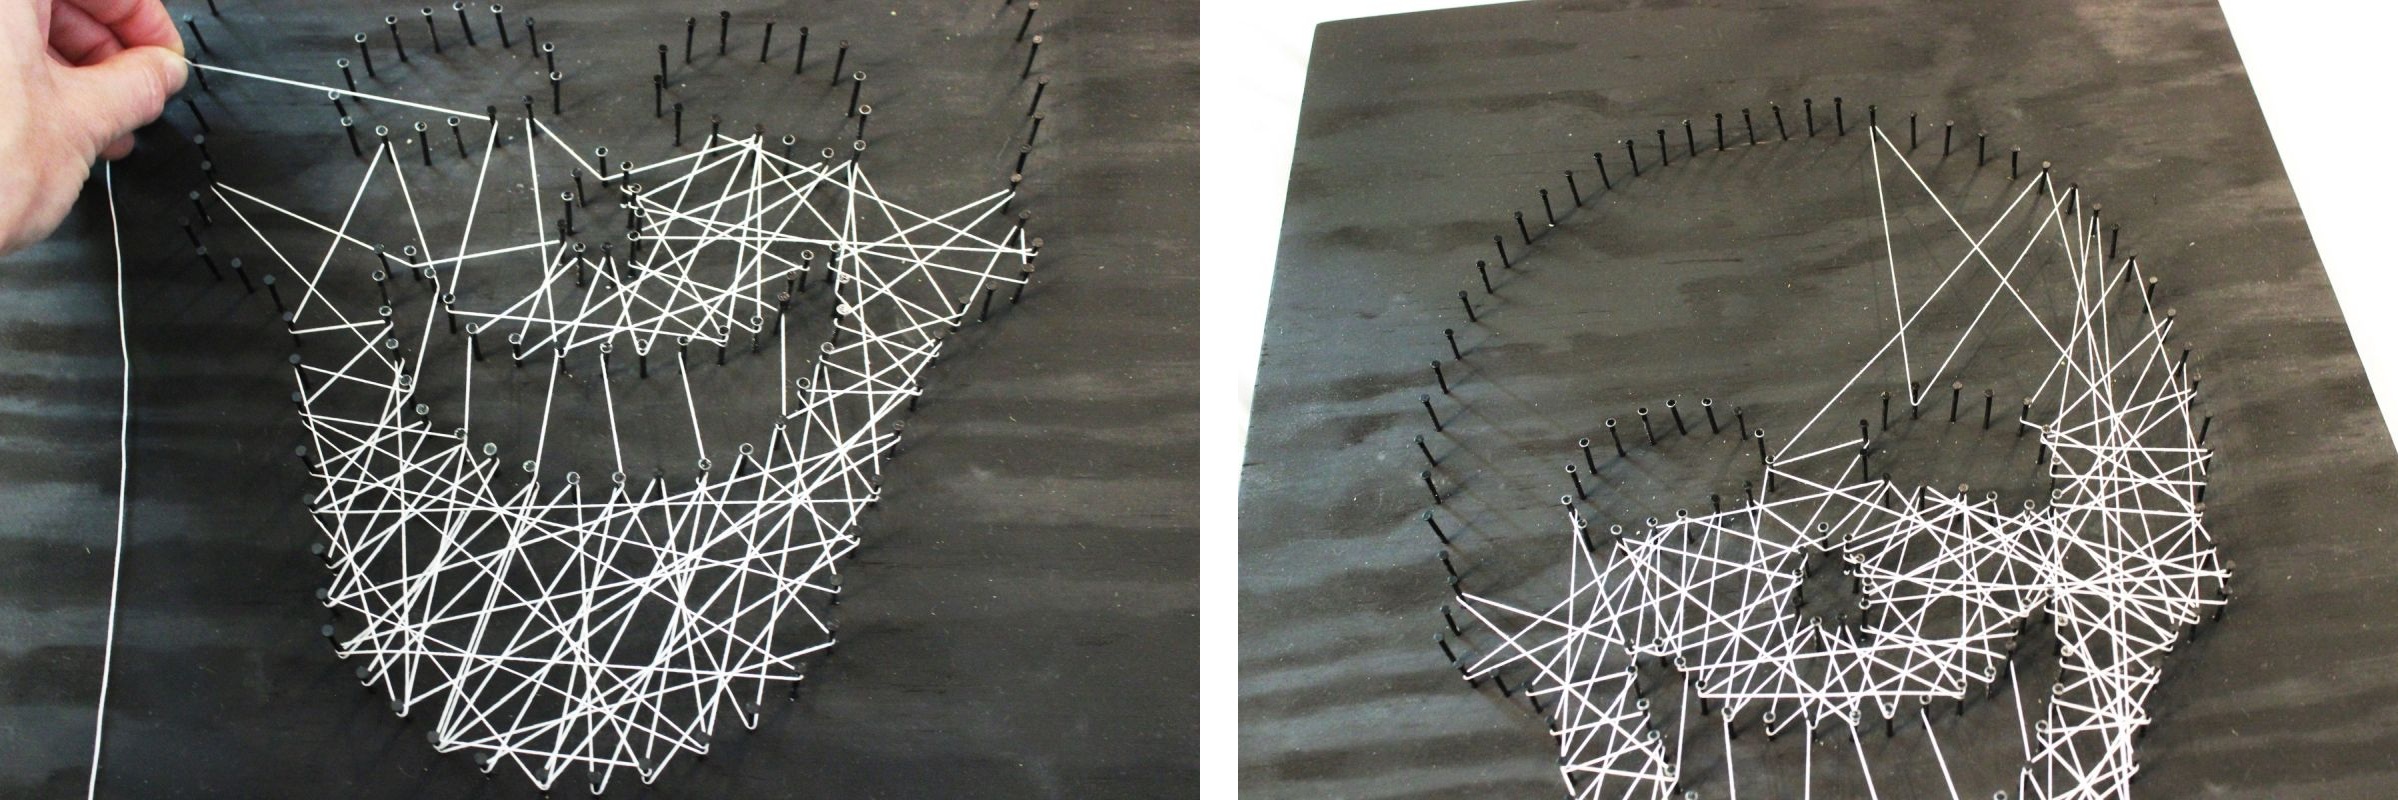
From the jaw, the thread extended across the cheeks and toward the upper sections of the skull. The overlapping strands built density across the white areas while the black plywood remained visible between them.
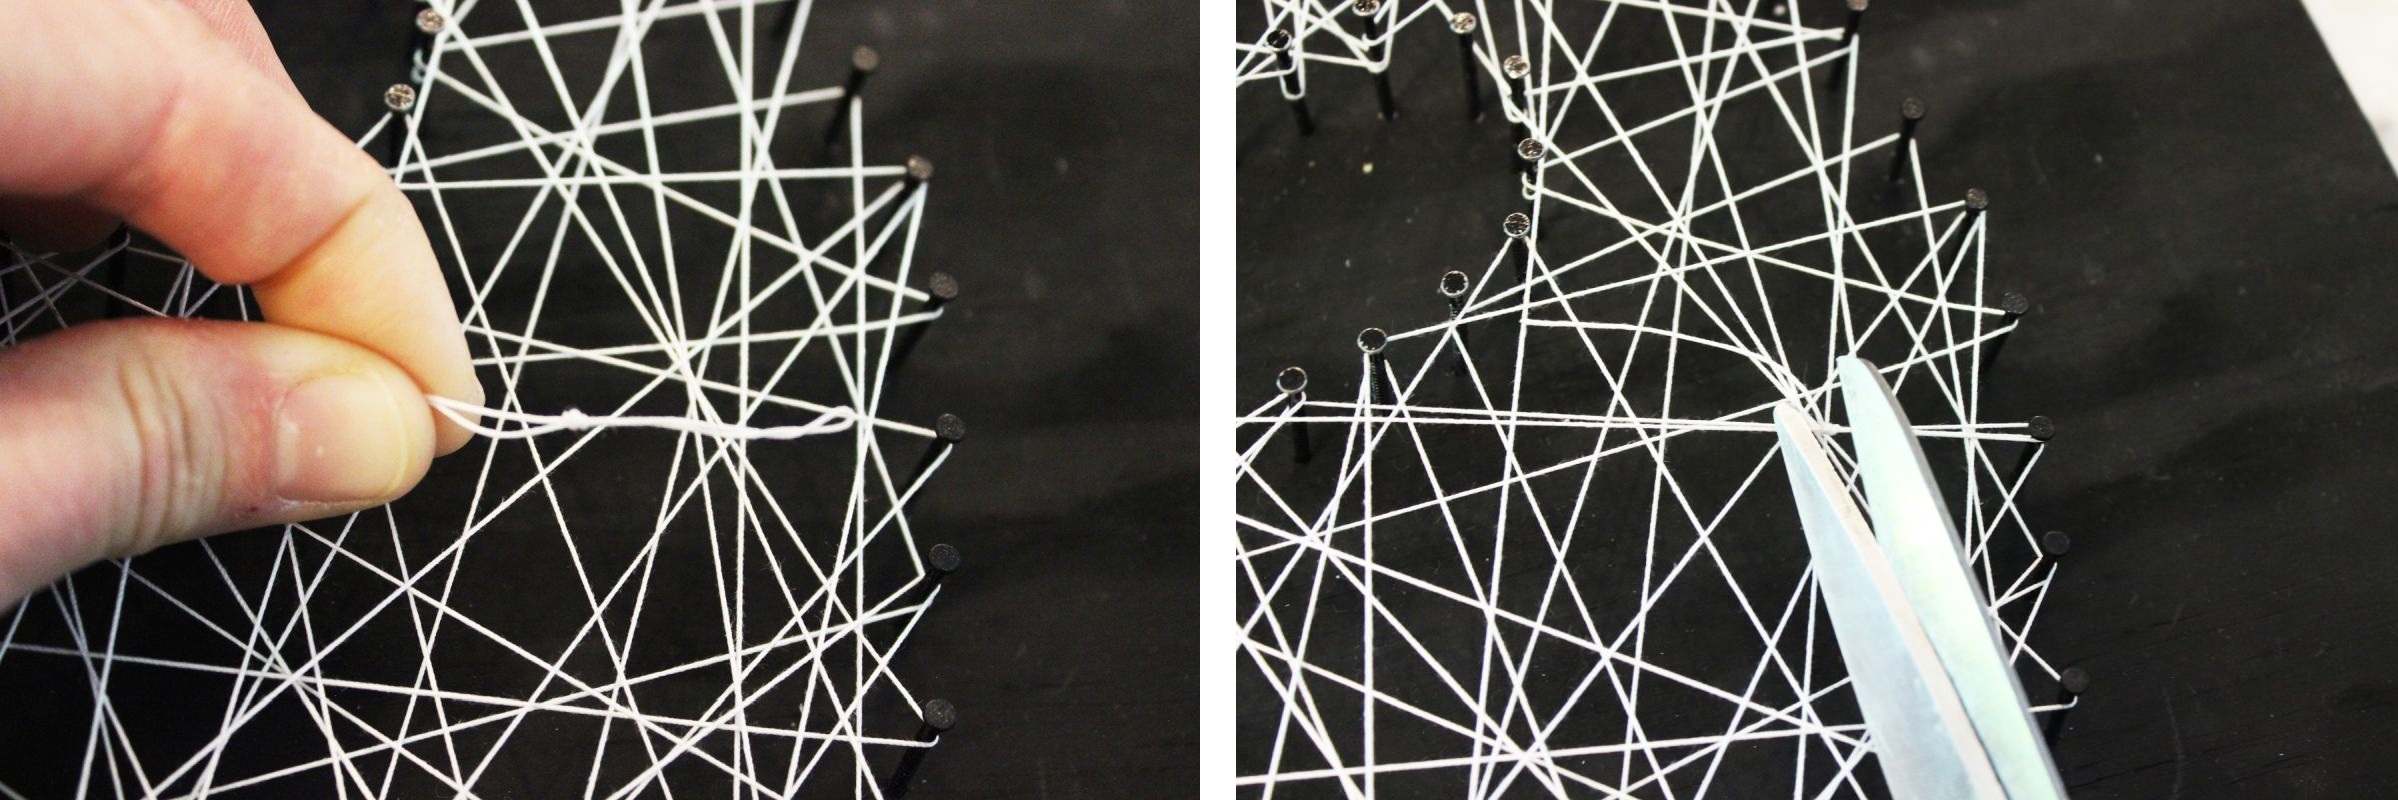
After completing the forehead and eye surrounds, Brittney secured the thread with a final loop and trimmed the excess. She kept the string partway up the exposed nails rather than pressing it against the board, giving the finished design depth.
The Finished String Art Became Halloween Wall Decor
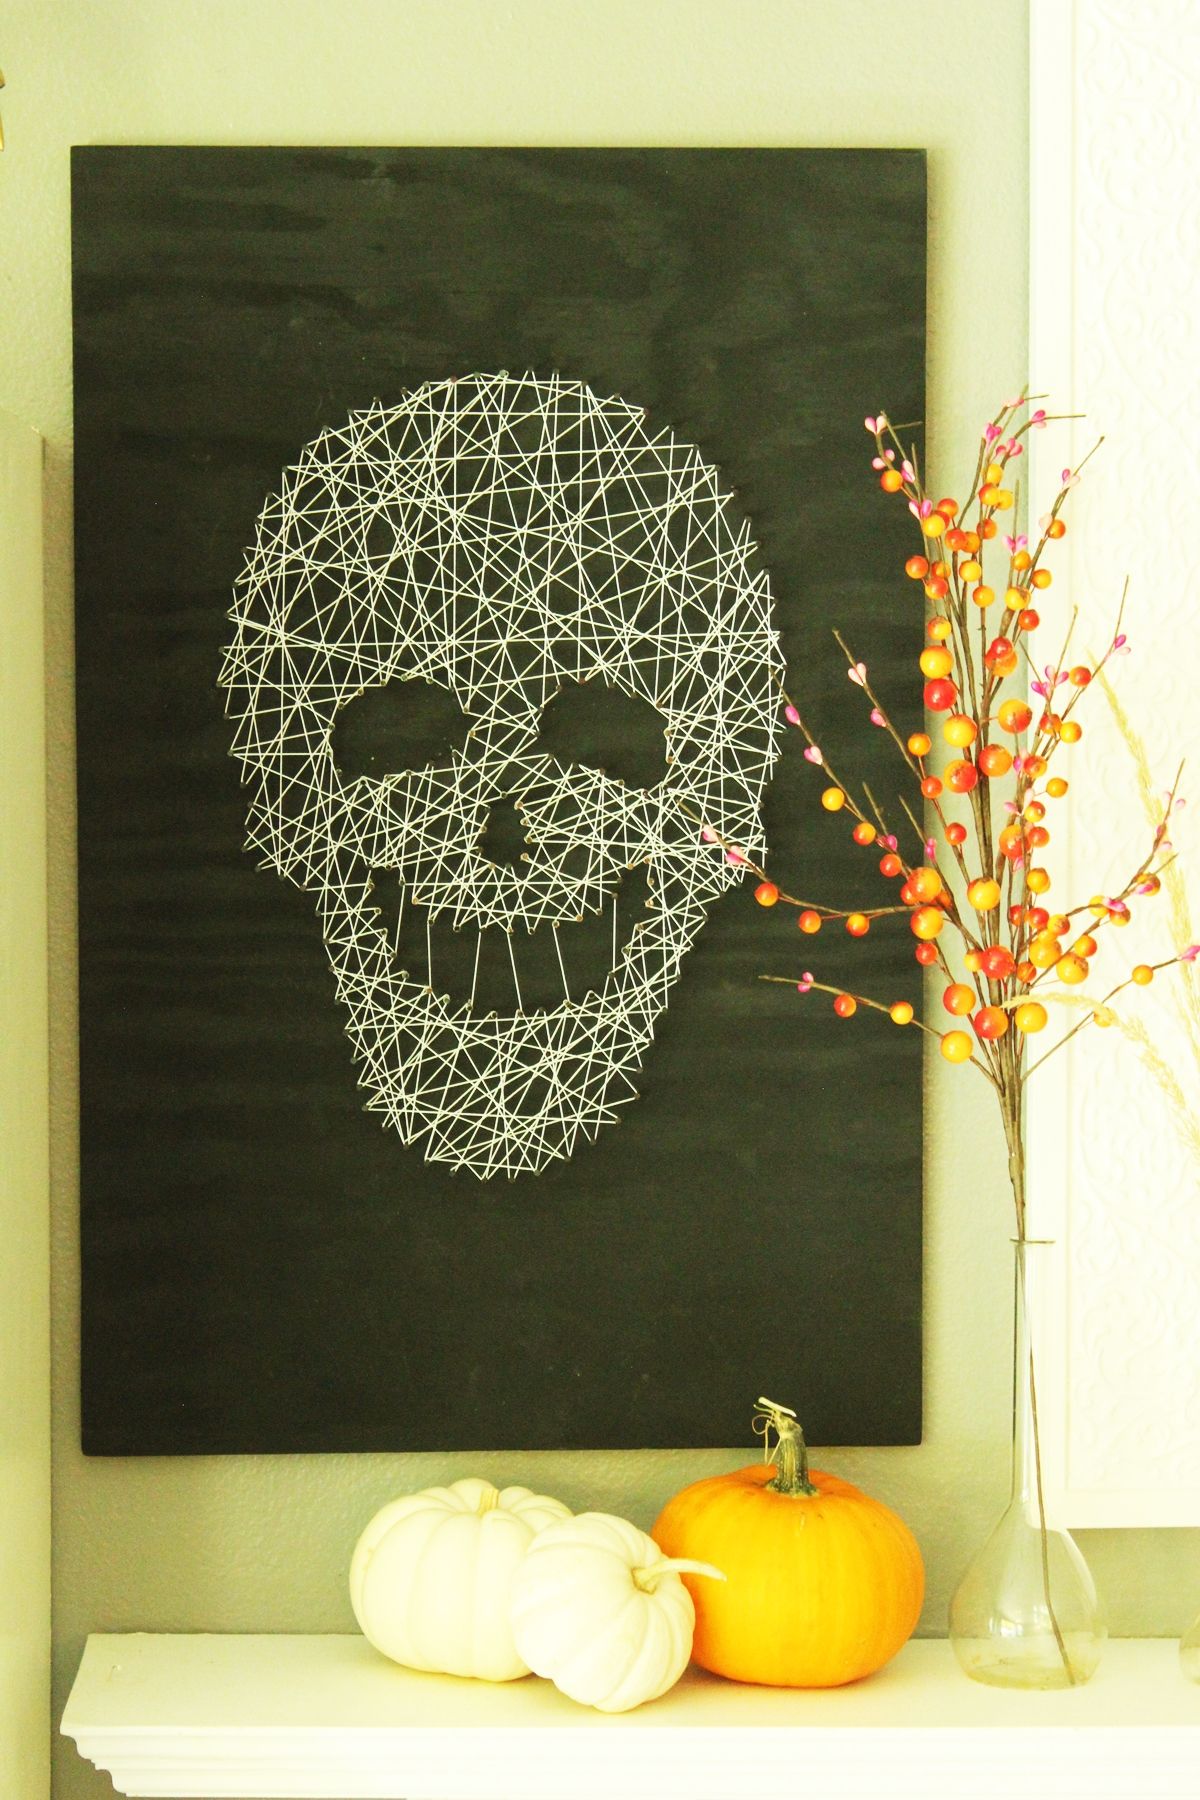
The completed skull shows a dense network of white threads forming the head, cheeks, and jaw, with black openings defining the eye sockets, nose, and grin. The crossing strands create texture without covering the plywood background.
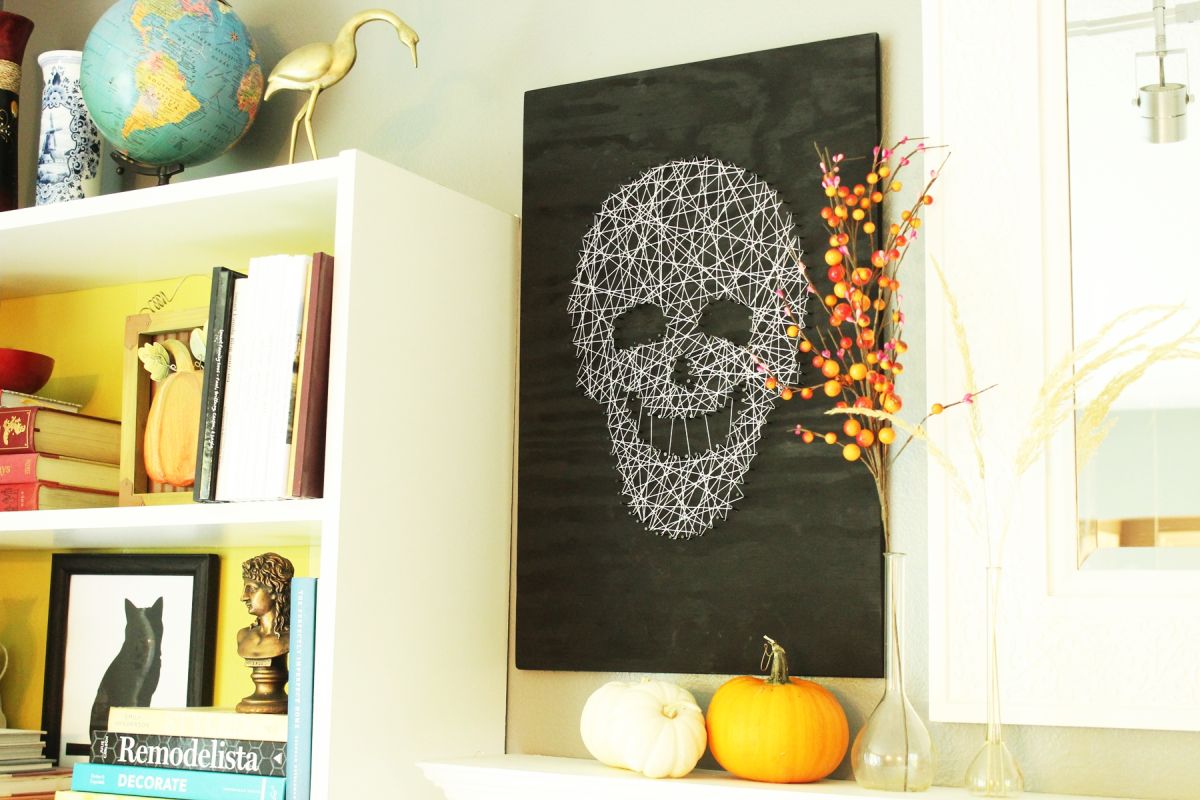
Brittney displayed the artwork beside a white bookcase, above a mantel decorated with white and orange pumpkins and a tall vase of autumn branches. The black board contrasts with the pale wall and surrounding decorations, while the white skull ties into the mantel display.
The project uses one plywood board, paint, nails, and cotton string to create a piece of Halloween wall art without carving or cutting out the skull shape.
Would you display this white-string skull for Halloween, or choose a painted version instead?
Project and photography: Homedit editor Brittney Smart.
The post She Hammered Nails Into Black Plywood and Connected Them With White String: A Halloween Skull Took Shape appeared first on Homedit.


Comments
Post a Comment